I’ve reviewed dozens of early YouTube channels where the camera quality was perfectly acceptable, yet viewers left within seconds because the audio echoed, the lighting was inconsistent, or the video lacked structure. Meanwhile, channels filmed entirely on smartphones reached monetisation because they solved a specific problem and presented it clearly.
The phone stopped being the bottleneck years ago.
The real challenge is learning how to use it well.
If you’re planning to create a youtube video on phone in 2026, this guide will walk through the filming process, setup decisions, common mistakes, and beginner-friendly tools that make the biggest difference.
Overview
Modern smartphones record video at a quality level that would have required dedicated cameras not long ago.
That doesn’t mean every phone-recorded video looks professional.
The difference usually comes from four variables:
- Lighting
- Audio
- Stability
- Composition
Most viewers will tolerate average visuals.
They rarely tolerate poor audio.
That’s why a creator filming with a mid-range phone and a good microphone often produces a better viewing experience than someone using an expensive camera with bad sound.
A useful rule:
Prioritise audio first, lighting second, framing third, and camera upgrades last.
Many creators do the opposite.
Then wonder why better equipment doesn’t improve results.
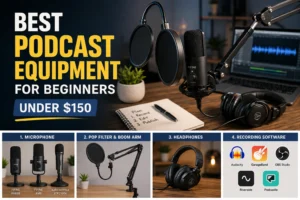
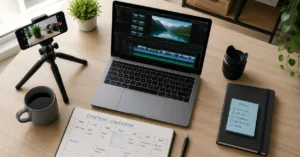
What You Actually Need
For most beginner YouTube channels:
- Smartphone
- Tripod
- Basic microphone
- Natural light or small LED light
- Editing app
That’s enough to publish useful content.
Not someday.
Now.
Step-by-Step Guide
Step 1: Plan the video before opening the camera
The fastest way to waste filming time is improvising everything.
A simple outline prevents most beginner mistakes.
Use this structure:
- Hook
- Main point
- Supporting example
- Conclusion
- Call to action
For tutorial videos:
- State the problem.
- Show the solution.
- Explain why it works.
- Recap the key takeaway.
This often reduces editing time because fewer unnecessary clips get recorded.
One of the most common beginner frustrations is sorting through twenty minutes of footage to find three useful minutes.
Planning solves that.
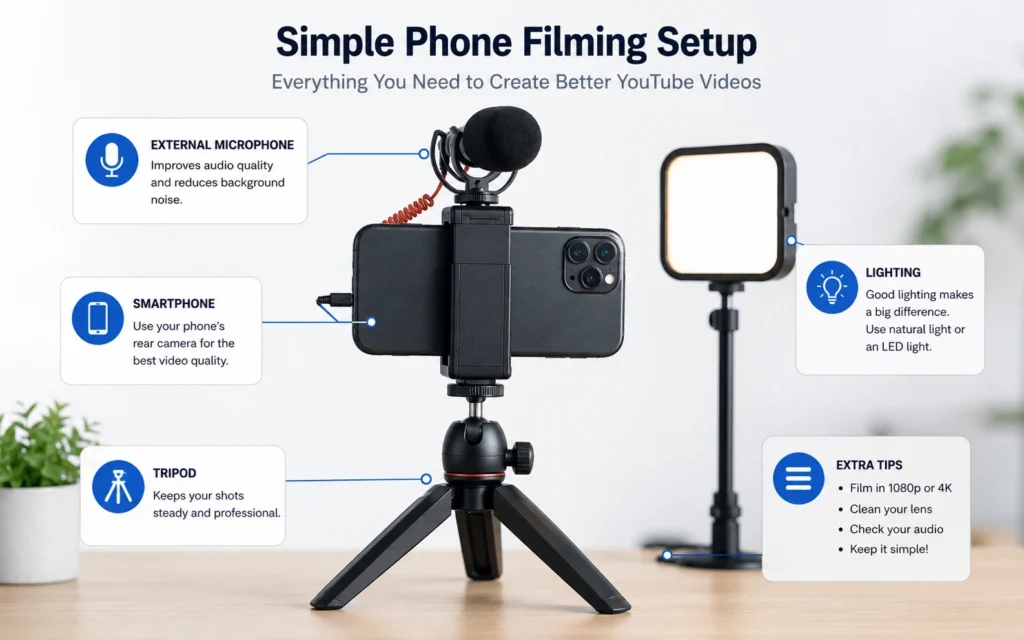
Step 2: Set up your lighting
Good lighting makes a bigger difference than camera upgrades.
Place yourself facing a window whenever possible.
The light should hit your face directly.
Avoid:
- Bright windows behind you
- Mixed light sources
- Overhead lighting only
A mistake many creators make is filming with a bright window in the background.
The phone exposes for the window.
Your face becomes darker.
Simple positioning fixes the problem.
If you film regularly, a small LED light becomes one of the highest-impact purchases you can make.
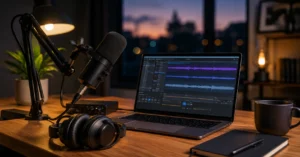
Step 3: Improve audio before recording
This is where most channels lose quality.
Phone microphones are acceptable in quiet rooms.
They struggle with:
- Echo
- Traffic noise
- Fans
- Large rooms
A budget lavalier microphone often improves perceived quality more than upgrading the phone itself.
Here’s an observation from editing creator content:
Viewers notice bad audio immediately.
Many never consciously notice good audio.
That’s exactly why it matters.
The goal isn’t impressive sound.
The goal is invisible sound.
Step 4: Stabilise the phone
Shaky footage creates friction.
Viewers may not leave because of it, but it adds unnecessary effort to watching.
Use:
- Tripods
- Phone stands
- Stable surfaces
Avoid handheld recording unless movement serves a purpose.
For talking-head videos, the camera should remain still.
A stable shot feels intentional.
A shaky shot feels unfinished.
Step 5: Frame the shot correctly
The easiest framing improvement is adjusting eye level.
Place the camera slightly above or directly at eye height.
Avoid placing it below your face.
A low-angle shot rarely looks flattering and often creates distracting backgrounds.
A practical beginner setup:
- Eyes near the top third of the frame
- Small amount of headroom
- Clean background
- Light facing you
That’s enough.
Don’t spend hours decorating a filming space before publishing your first videos.
Step 6: Record multiple takes
New creators often stop after one take.
Experienced creators rarely do.
Record:
- Main version
- Backup version
- Alternative opening
Sometimes the third attempt becomes the strongest.
The first take usually removes nervous energy.
The second improves clarity.
The third often sounds natural.
That’s not a rule.
But it’s common.
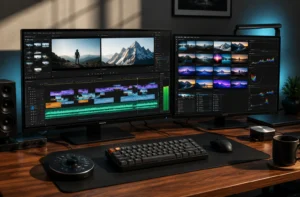
Step 7: Edit for clarity, not complexity
Many beginners overestimate how much editing matters.
Good editing helps.
Good communication helps more.
Focus on:
- Removing mistakes
- Tightening pauses
- Improving pacing
- Adding text when necessary
Avoid adding effects simply because the software allows them.
Every edit should improve understanding.
If it doesn’t, remove it.
Step 8: Export and review before uploading
Watch the finished video once before publishing.
Not while editing.
After exporting.
You’ll notice things differently.
Common discoveries:
- Audio spikes
- Missed cuts
- Text errors
- Timing issues
A five-minute review can prevent a video from looking rushed.
Tips & Examples
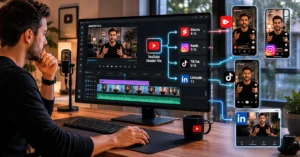
A tutorial channel needs different filming choices than a vlog channel
Many creators copy setups from channels that serve different audiences.
That’s expensive.
A software tutorial channel often needs:
- Screen recordings
- Voiceovers
- Minimal camera footage
A vlog channel depends more on:
- Movement
- B-roll
- Environmental footage
The format should drive the setup.
Not the other way around.
Film closer than feels natural
Beginners frequently place the camera too far away.
The result:
- Empty space
- Weak visual presence
- Less engagement
Move the camera closer.
Then move it slightly closer again.
Most creators are surprised by how much better the framing looks.
Use natural light while learning
A creator can spend hundreds on lighting before publishing ten videos.
That’s usually the wrong sequence.
Use a window.
Learn framing.
Learn audio.
Learn pacing.
Then improve equipment.
I made this mistake years ago while helping with a small educational video project. We spent hours adjusting lights and almost no time improving the script. The final video looked clean but still struggled because the explanation wasn’t clear.
Production quality cannot rescue weak communication.
Create a repeatable filming workflow
The strongest creator advantage is consistency.
Not creativity.
Consistency.
A repeatable workflow might look like:
Monday:
- Research
Tuesday:
- Script
Wednesday:
- Film
Thursday:
- Edit
Friday:
- Publish
The exact schedule doesn’t matter.
The repeatability does.
Tools to Use
CapCut
Useful for:
- Beginner editing
- Captions
- Mobile workflows
- Quick exports
One of the easiest editing tools for new creators.
VN Video Editor
Useful for:
- Timeline editing
- Transitions
- Mobile production
Provides more control while remaining approachable.
Adobe Premiere Rush
Useful for:
- Cross-device editing
- Faster publishing workflows
- Simple YouTube projects
A good option for creators who may eventually move into larger Adobe workflows.
Smartphone Tripod
A tripod improves:
- Stability
- Framing consistency
- Professional appearance
Few purchases improve production quality more for beginners.
Lavalier Microphone
If your budget only allows one upgrade:
Buy better audio.
Not a better camera.
That’s the blunt verdict.
The quality difference is immediately noticeable.
YouTube Studio
Useful for:
- Analytics
- Audience retention
- Performance tracking
The most valuable feedback tool is usually the one creators already have.
Review retention graphs after every upload.
Patterns appear quickly.
Frequently Asked Questions About YouTube Video on Phone
Can I start a YouTube channel using only my phone?
Yes. Many channels begin and grow using only a smartphone. Clear audio, useful content, and consistent publishing usually matter more than expensive equipment during the early stages.
What phone is best for YouTube videos in 2026?
Most recent smartphones from major manufacturers are capable of producing high-quality YouTube content. Lighting, audio, and framing decisions generally have a larger impact than small camera specification differences.
Should I record in 1080p or 4K?
For most beginners, 1080p is sufficient. It reduces storage requirements and speeds up editing. Move to 4K when your workflow, editing device, and content style benefit from the additional resolution.
What is the biggest mistake beginners make when filming on a phone?
Poor audio is usually the biggest issue. Many creators focus on camera quality while ignoring echo, background noise, and microphone placement.
How long should my first YouTube videos be?
Long enough to solve the viewer’s problem and no longer. For many beginner channels, five to ten minutes provides enough room to deliver value without adding unnecessary filler.
Continue Exploring
- finding video ideas you can publish consistently: The filming process matters less if you constantly run out of topics.
- building a repeatable publishing system: A strong workflow makes production easier long before better equipment does.