They spend $150 on a camera, then discover their videos still sound bad. Viewers tolerate average video quality far longer than poor audio. A creator with a smartphone and a decent microphone will often hold attention better than someone filming with an expensive camera and weak sound.
I learned this lesson after helping a new creator build a tutorial channel on a tight budget. The first upgrade wasn’t a camera. It was a $25 microphone. Average watch duration increased because people could actually hear the explanations without strain.
The goal isn’t to build a studio. The goal is to create a setup that removes the biggest quality problems without draining your budget.
This guide shows exactly what equipment beginners should buy, what they should skip, and how to build a practical YouTube setup for less than $200.
Overview
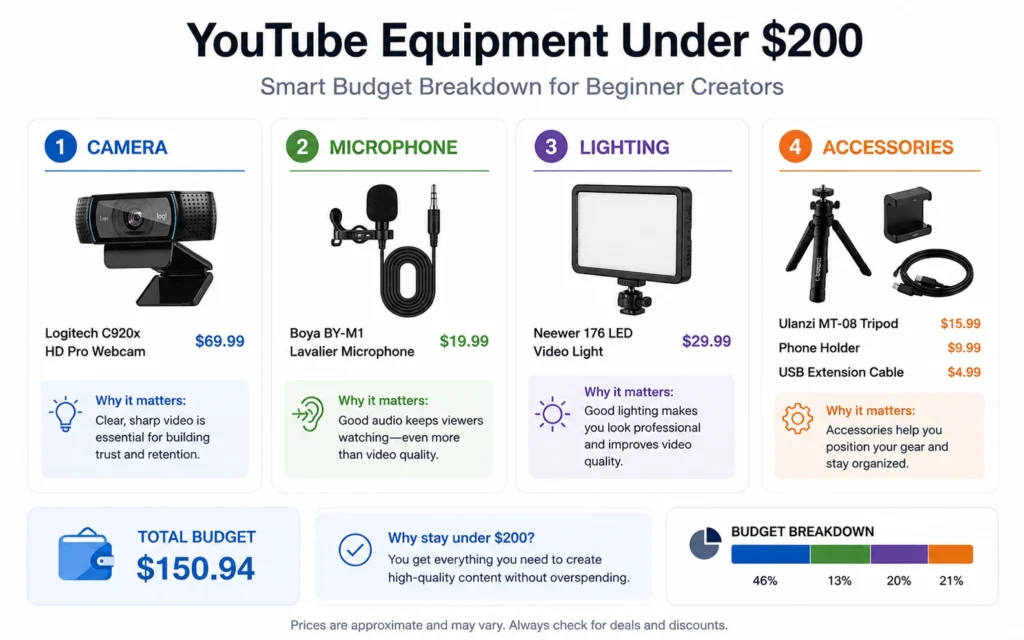
The best youtube equipment beginners can buy under $200 usually falls into four categories:
- Camera
- Microphone
- Lighting
- Stabilization
Most people get the order wrong.
The common assumption is that better cameras create better videos. For beginners, audio and lighting create larger improvements than camera quality. A well-lit smartphone video with clear sound often performs better than poorly lit footage from a dedicated camera.
A practical beginner budget looks like this:
| Item | Budget |
|---|---|
| Smartphone Camera | Existing Device |
| Microphone | $25–$60 |
| Tripod | $20–$40 |
| LED Light | $30–$60 |
| Accessories | $20–$40 |
That structure solves the biggest production problems first.
Not every channel needs identical gear, either.
A talking-head business channel has different needs than a cooking channel. A gaming creator can delay camera upgrades entirely. A tutorial creator may benefit more from screen-recording software than camera equipment.
That’s why equipment should follow content format—not the other way around.
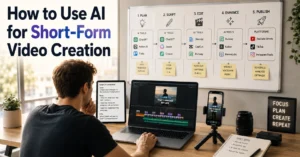
Step-by-Step Guide
Step 1: Use Your Existing Phone First
Skip the camera purchase.
Most modern smartphones shoot in 1080p or 4K. That’s more than enough for a new channel.
Many beginner creators spend weeks researching cameras before publishing their first video. Meanwhile, someone using an existing phone uploads ten videos and starts learning what viewers actually respond to.
The difference isn’t equipment.
It’s repetitions.
Use the phone you already own until you can identify a specific limitation.
Step 2: Buy a Dedicated Microphone
Audio quality affects perceived production value more than most creators expect.
For under $50, a lavalier microphone or entry-level USB microphone can dramatically improve recordings.
Listen to beginner videos carefully and you’ll notice a pattern:
The video quality is often acceptable.
The audio is what makes people leave.
A microphone upgrade is usually the highest-return purchase in a beginner setup.
Step 3: Add Basic Lighting
Lighting fixes problems cameras can’t.
Many creators assume they need better lenses when they actually need more light. A simple LED panel positioned correctly often improves image quality more than an expensive camera upgrade.
Position the light slightly above eye level and angle it toward your face.
Simple works.
Complicated lighting setups don’t help if you’re still learning scripting, editing, and publishing.
Step 4: Stabilize the Shot
Shaky footage signals low production quality immediately.
A basic tripod solves that problem for very little money.
For talking-head content, a tripod may be the last camera support purchase you need for years.
And unlike trendy creator gadgets, a tripod rarely becomes obsolete.
Step 5: Spend the Remaining Budget on Production Efficiency
This is where many buying guides fail.
They focus entirely on image quality.
Production speed matters too.
An SD card, phone mount, cable organizer, or backup battery can save more recording time than another incremental camera upgrade.
The best equipment often removes friction rather than improving quality.
Tips & Examples
Design the Setup Around the Format
A mistake I see frequently is buying equipment before deciding what type of content to make.
That’s backwards.
A reaction channel needs different equipment than a woodworking channel.
A software tutorial channel may need:
- Screen recording software
- USB microphone
- Basic lighting
That’s it.
No camera upgrade required.
Meanwhile, a cooking channel may prioritize overhead mounting equipment before anything else.
The format determines the equipment list.
Not YouTube.
Record Three Videos Before Buying Anything Else
This sounds obvious.
Most people don’t do it.
They buy equipment because purchasing feels productive.
Recording feels uncomfortable.
The result is a desk full of gear and an empty channel.
Create three complete videos.
Edit them.
Watch them.
Then identify the biggest weakness.
The weakness determines the next purchase.
Not a recommendation video.
Not a gear review.
Your own footage.
Titles Influence Results More Than Gear
Here’s a trade-off most equipment discussions ignore.
A better microphone improves every video slightly.
A better title can double clicks overnight.
One of the most common beginner mistakes is treating production quality as the primary growth lever.
Packaging often matters more.
A creator with average equipment and strong titles usually outperforms a creator with expensive gear and weak positioning.
That doesn’t mean equipment is irrelevant.
It means equipment solves different problems.
Tools to Use
Smartphone Camera
For most beginners, this is the best camera available within the budget.
The advantage isn’t just image quality.
It’s convenience.
Convenience increases publishing frequency.
Publishing frequency accelerates learning.
Boya BY-M1 Lavalier Microphone
A widely used entry-level microphone for creators recording talking-head videos.
Its biggest advantage isn’t audio quality.
It’s simplicity.
Clip it on, record, and move on.
Beginners benefit more from simple workflows than advanced features.
LED Panel Light
A single LED panel creates a noticeable improvement in image quality.
Positioning matters more than buying the most expensive model.
Even a modest light can improve skin tones, reduce noise, and create a cleaner image.
Adjustable Tripod
Tripods are boring.
That’s why they’re valuable.
The most useful creator purchases are often the least exciting.
Stable footage improves professionalism immediately.
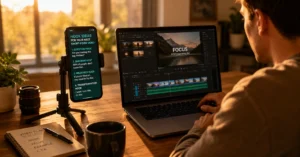
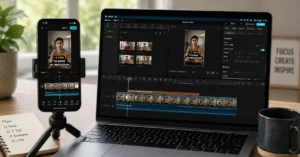
DaVinci Resolve
Many creators assume they need expensive editing software.
They don’t.
DaVinci Resolve offers professional-level editing capabilities without requiring a monthly subscription.
For beginners, that’s money better spent elsewhere.
Sample Budget Breakdown
| Equipment | Estimated Cost |
|---|---|
| Lavalier Microphone | $25 |
| LED Light | $50 |
| Tripod | $30 |
| Phone Mount | $15 |
| Backup Battery | $25 |
| Accessories | $30 |
| Total | $175 |
That leaves room for small adjustments while staying under the $200 limit.
Frequently Asked Questions About YouTube Equipment Beginners
Do beginners need a camera to start YouTube?
No. Most smartphones are capable of producing YouTube videos that meet beginner requirements. Upgrade only after identifying a specific limitation that affects your content.
What is the most important YouTube equipment for beginners?
A microphone is usually the first purchase worth making. Clear audio improves viewer experience immediately and often creates a larger quality improvement than upgrading cameras.
Is $200 enough for a YouTube setup?
Yes. A smartphone, microphone, tripod, and basic LED light can create a capable beginner setup under $200. The constraint is rarely equipment at this stage. It’s publishing consistency and content quality.
What equipment should beginners avoid?
Avoid expensive cameras, camera sliders, advanced lighting kits, and specialized accessories before publishing several videos. Many purchases solve problems that new creators don’t have yet.
What is the best youtube equipment beginners 2026 setup?
For most creators entering 2026, the strongest budget setup remains:
Existing smartphone
Lavalier microphone
LED light
Tripod
Free editing software
That combination balances quality, affordability, and ease of use.
Continue Exploring
- complete YouTube creation guide: If you’re still deciding how to structure videos, package them, and publish consistently, the broader YouTube workflow matters more than the next equipment purchase.
- broader YouTube workflow: Understanding scripting, retention, editing, and publishing decisions will improve results long after your first gear upgrade.